Smart Mirror for a High School Classroom
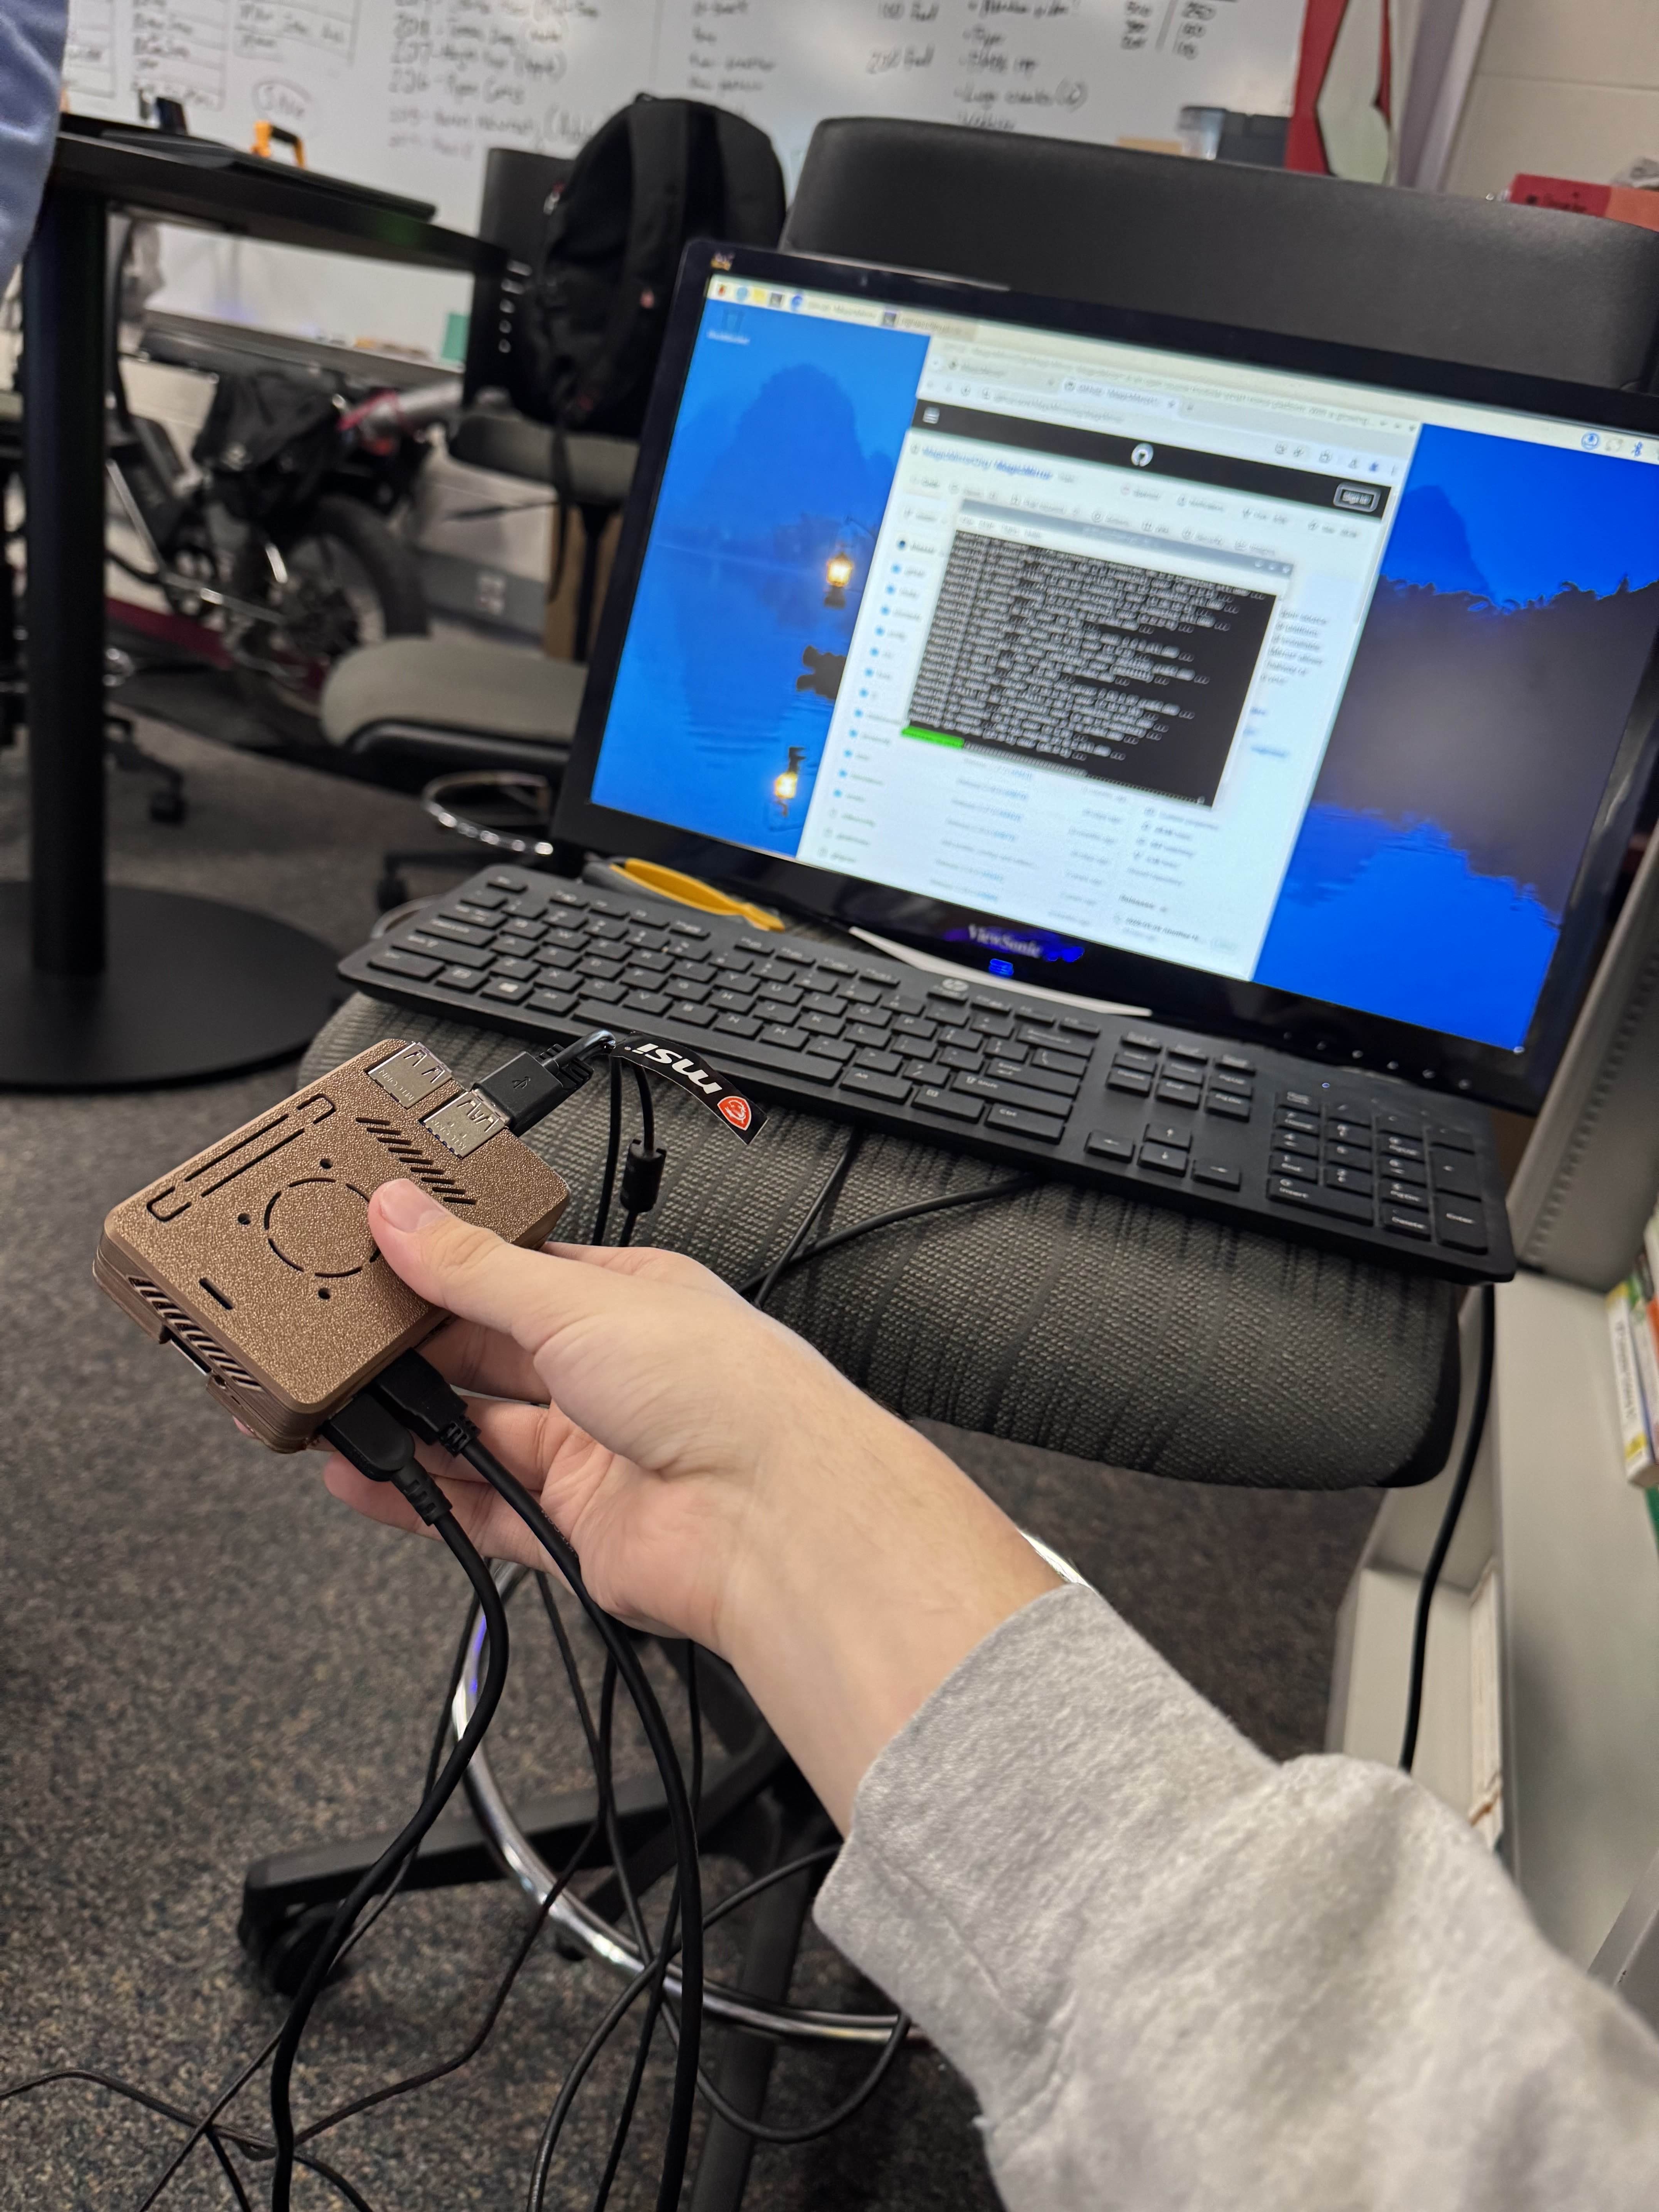
I led software and UX. Built a wall-mounted smart mirror that runs 24/7 in Adam Lueken's room 0200. Built with Raspberry Pi 4, MagicMirror², and custom modules over four months.
Problem: Make a reliable, informative mirror for a classroom with almost no budget, no drilling into walls, and a heavy recycled monitor.
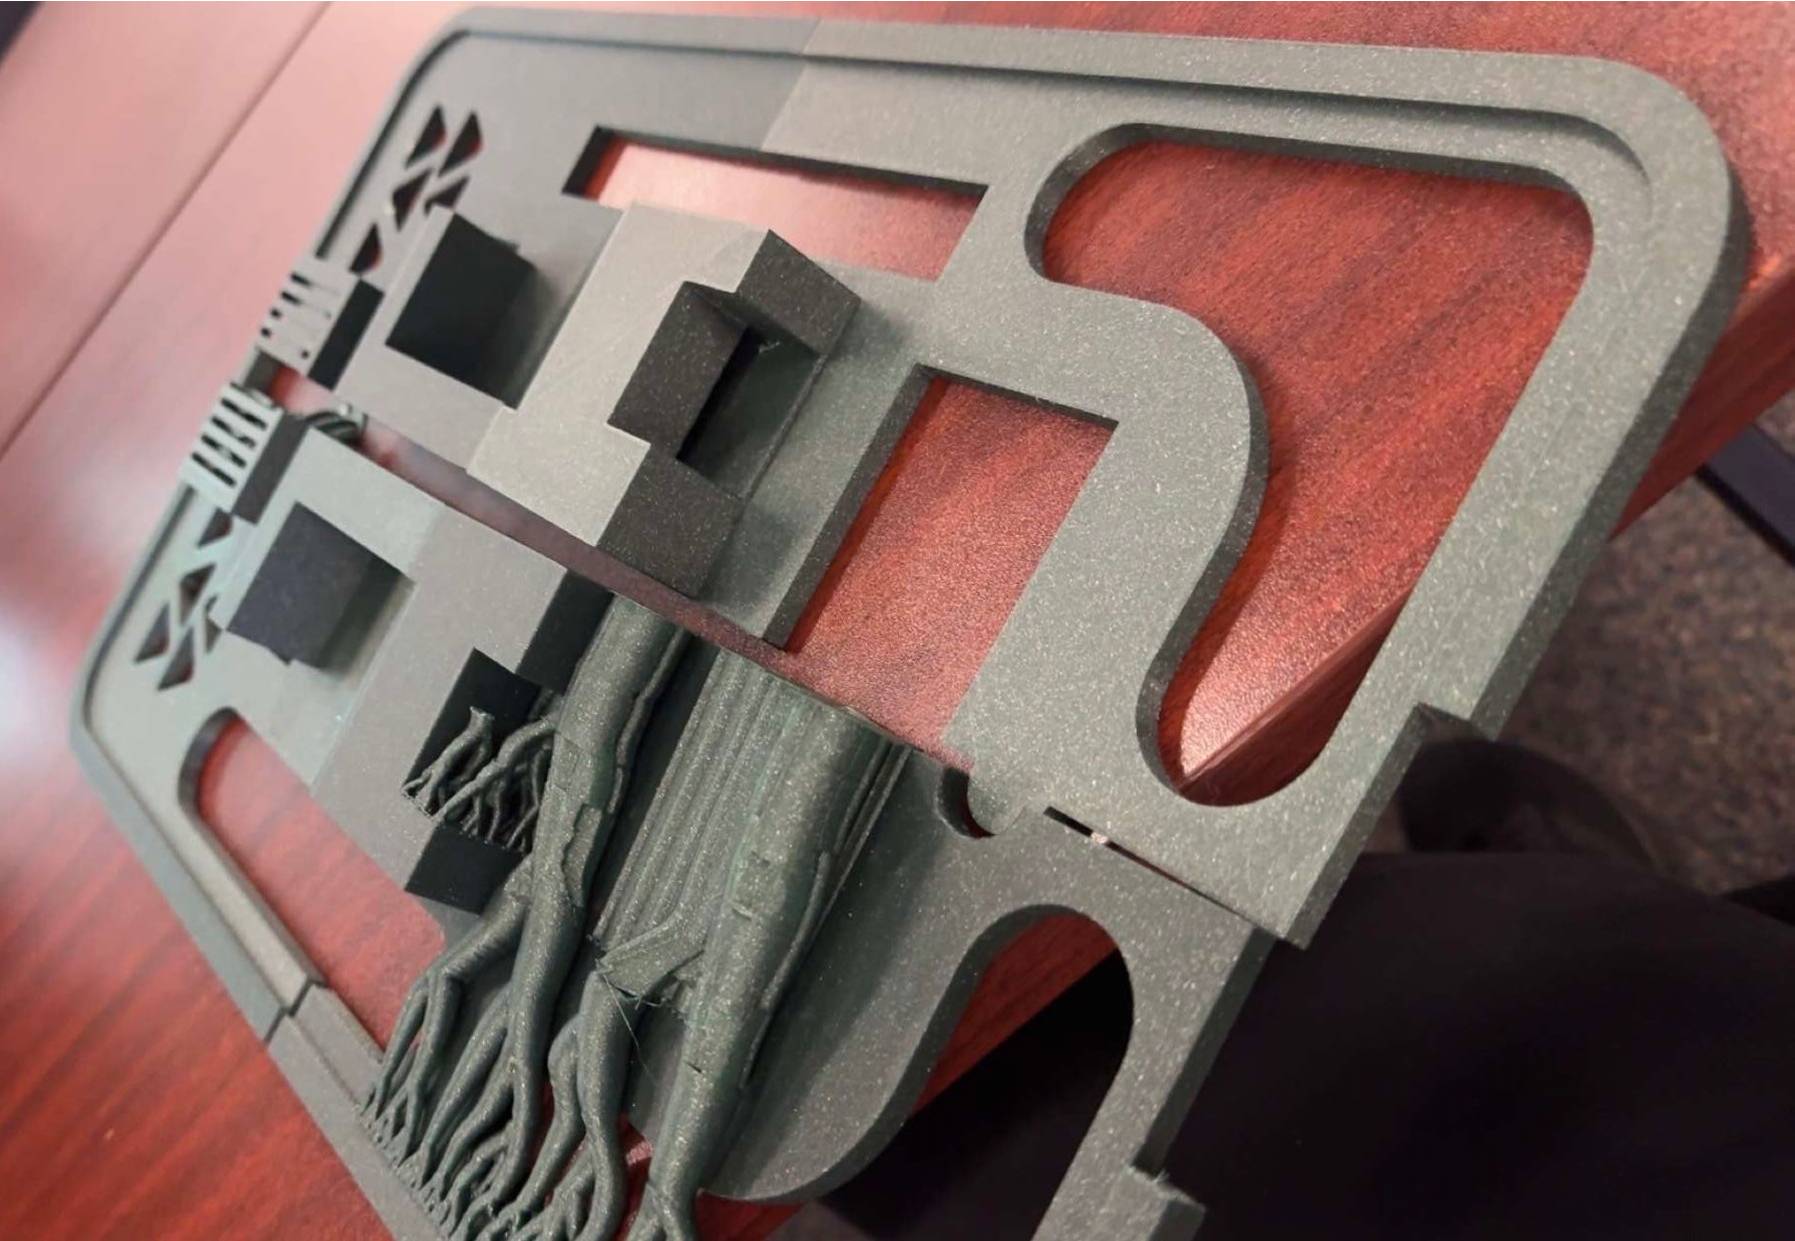
Approach: MagicMirror² in kiosk mode with custom modules, 3D printed frame, adhesive-only mounting.
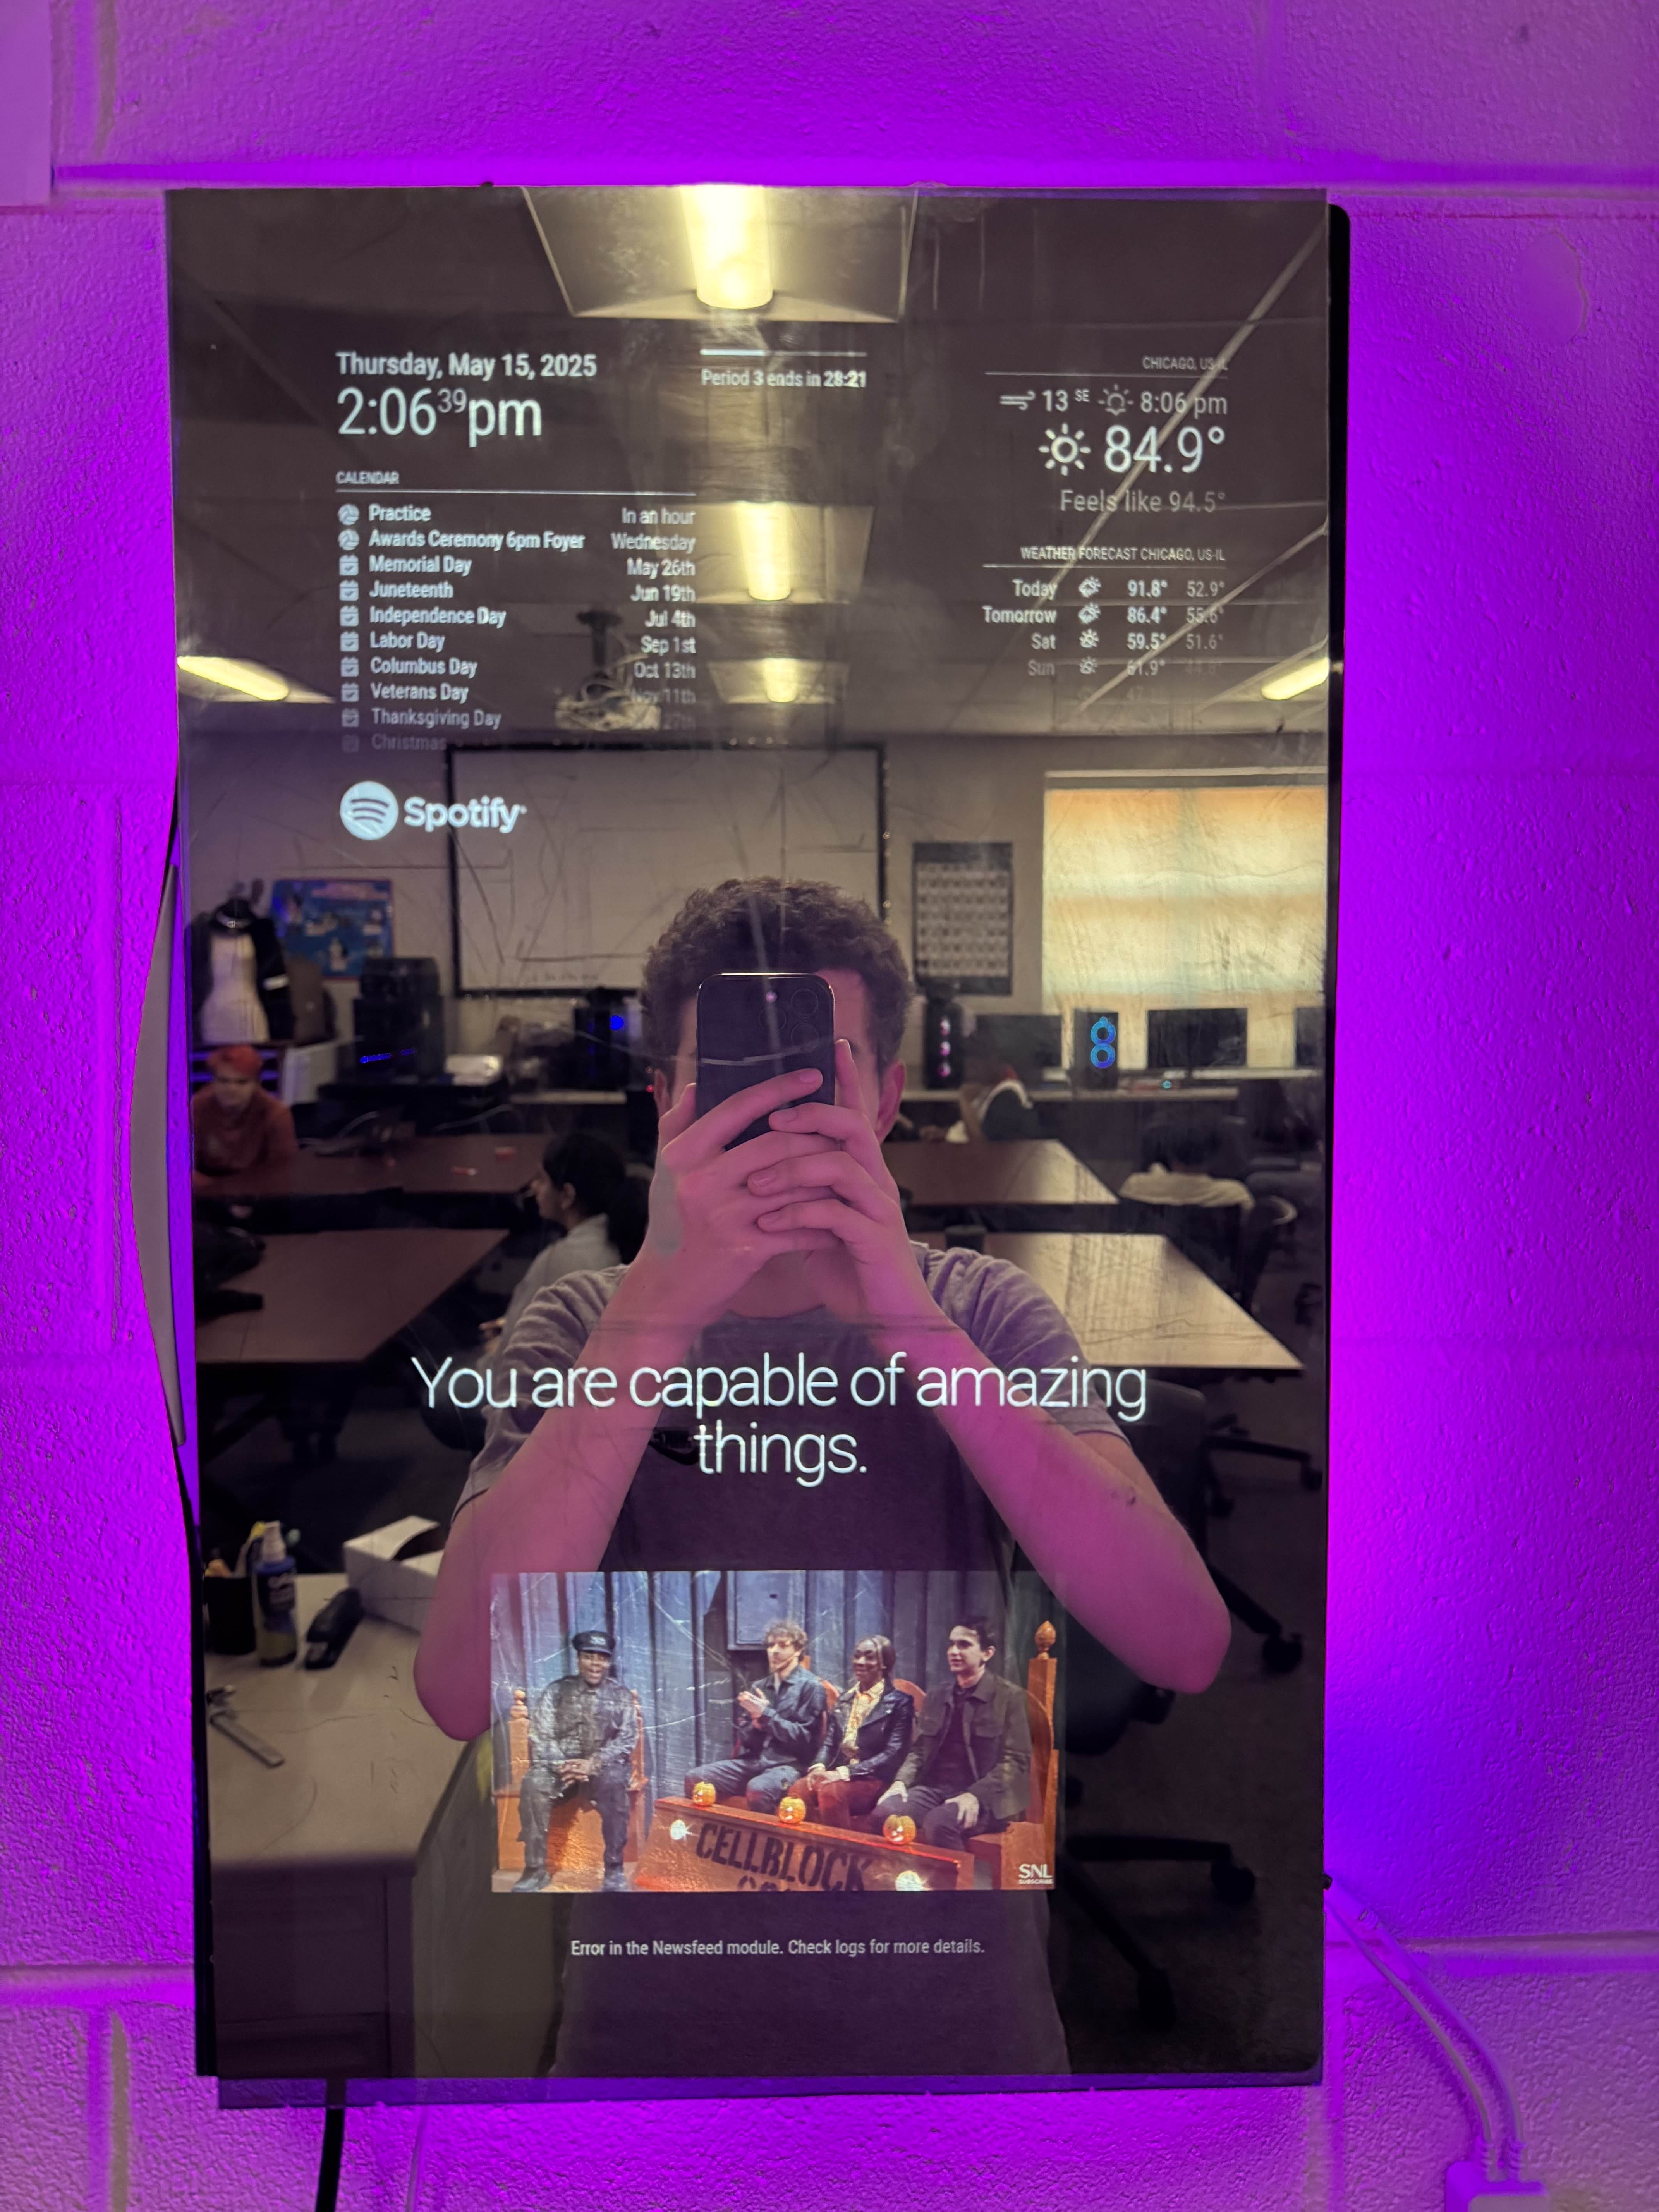
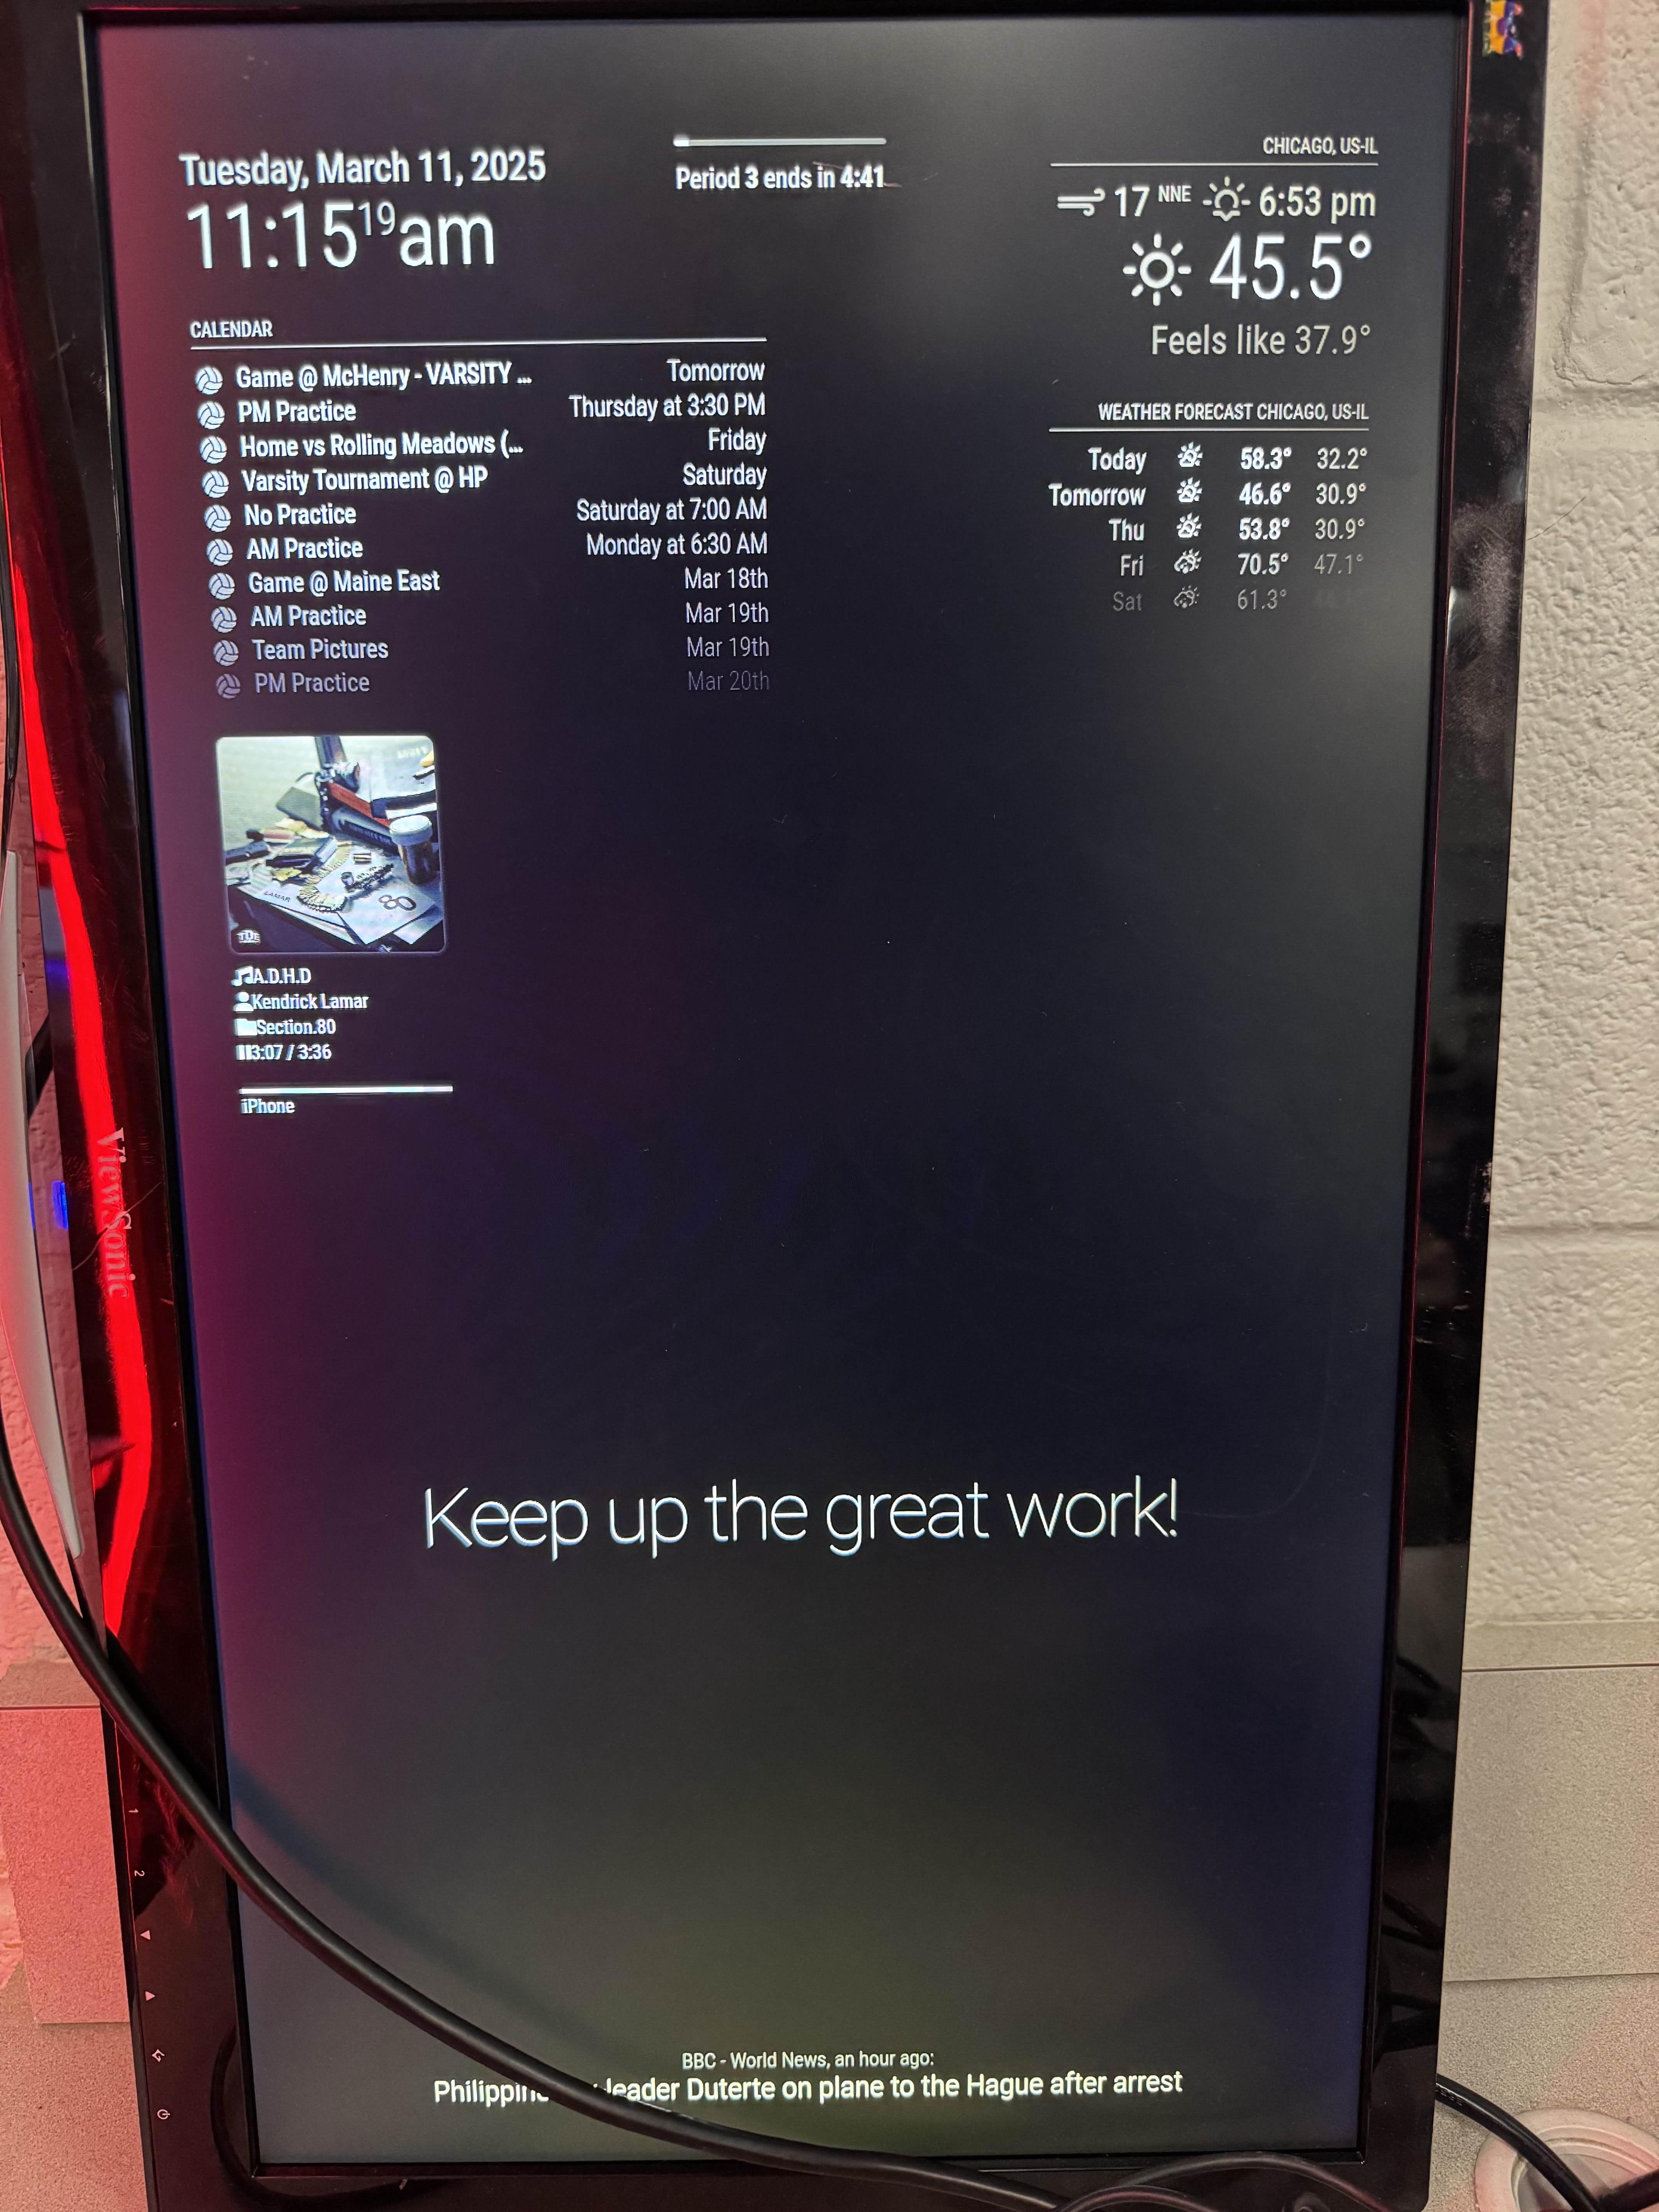
Result: Runs 24/7 today with time, bell countdown, calendar, weather, Spotify, YouTube, quotes, and news.
Project Overview
I built a classroom smart mirror over four months in Advanced Topics in CS. I owned the software, UI, and overall experience. We reused an old 1080×1920 monitor and a Raspberry Pi 4, added a two-way acrylic sheet, and ran MagicMirror² with custom modules.
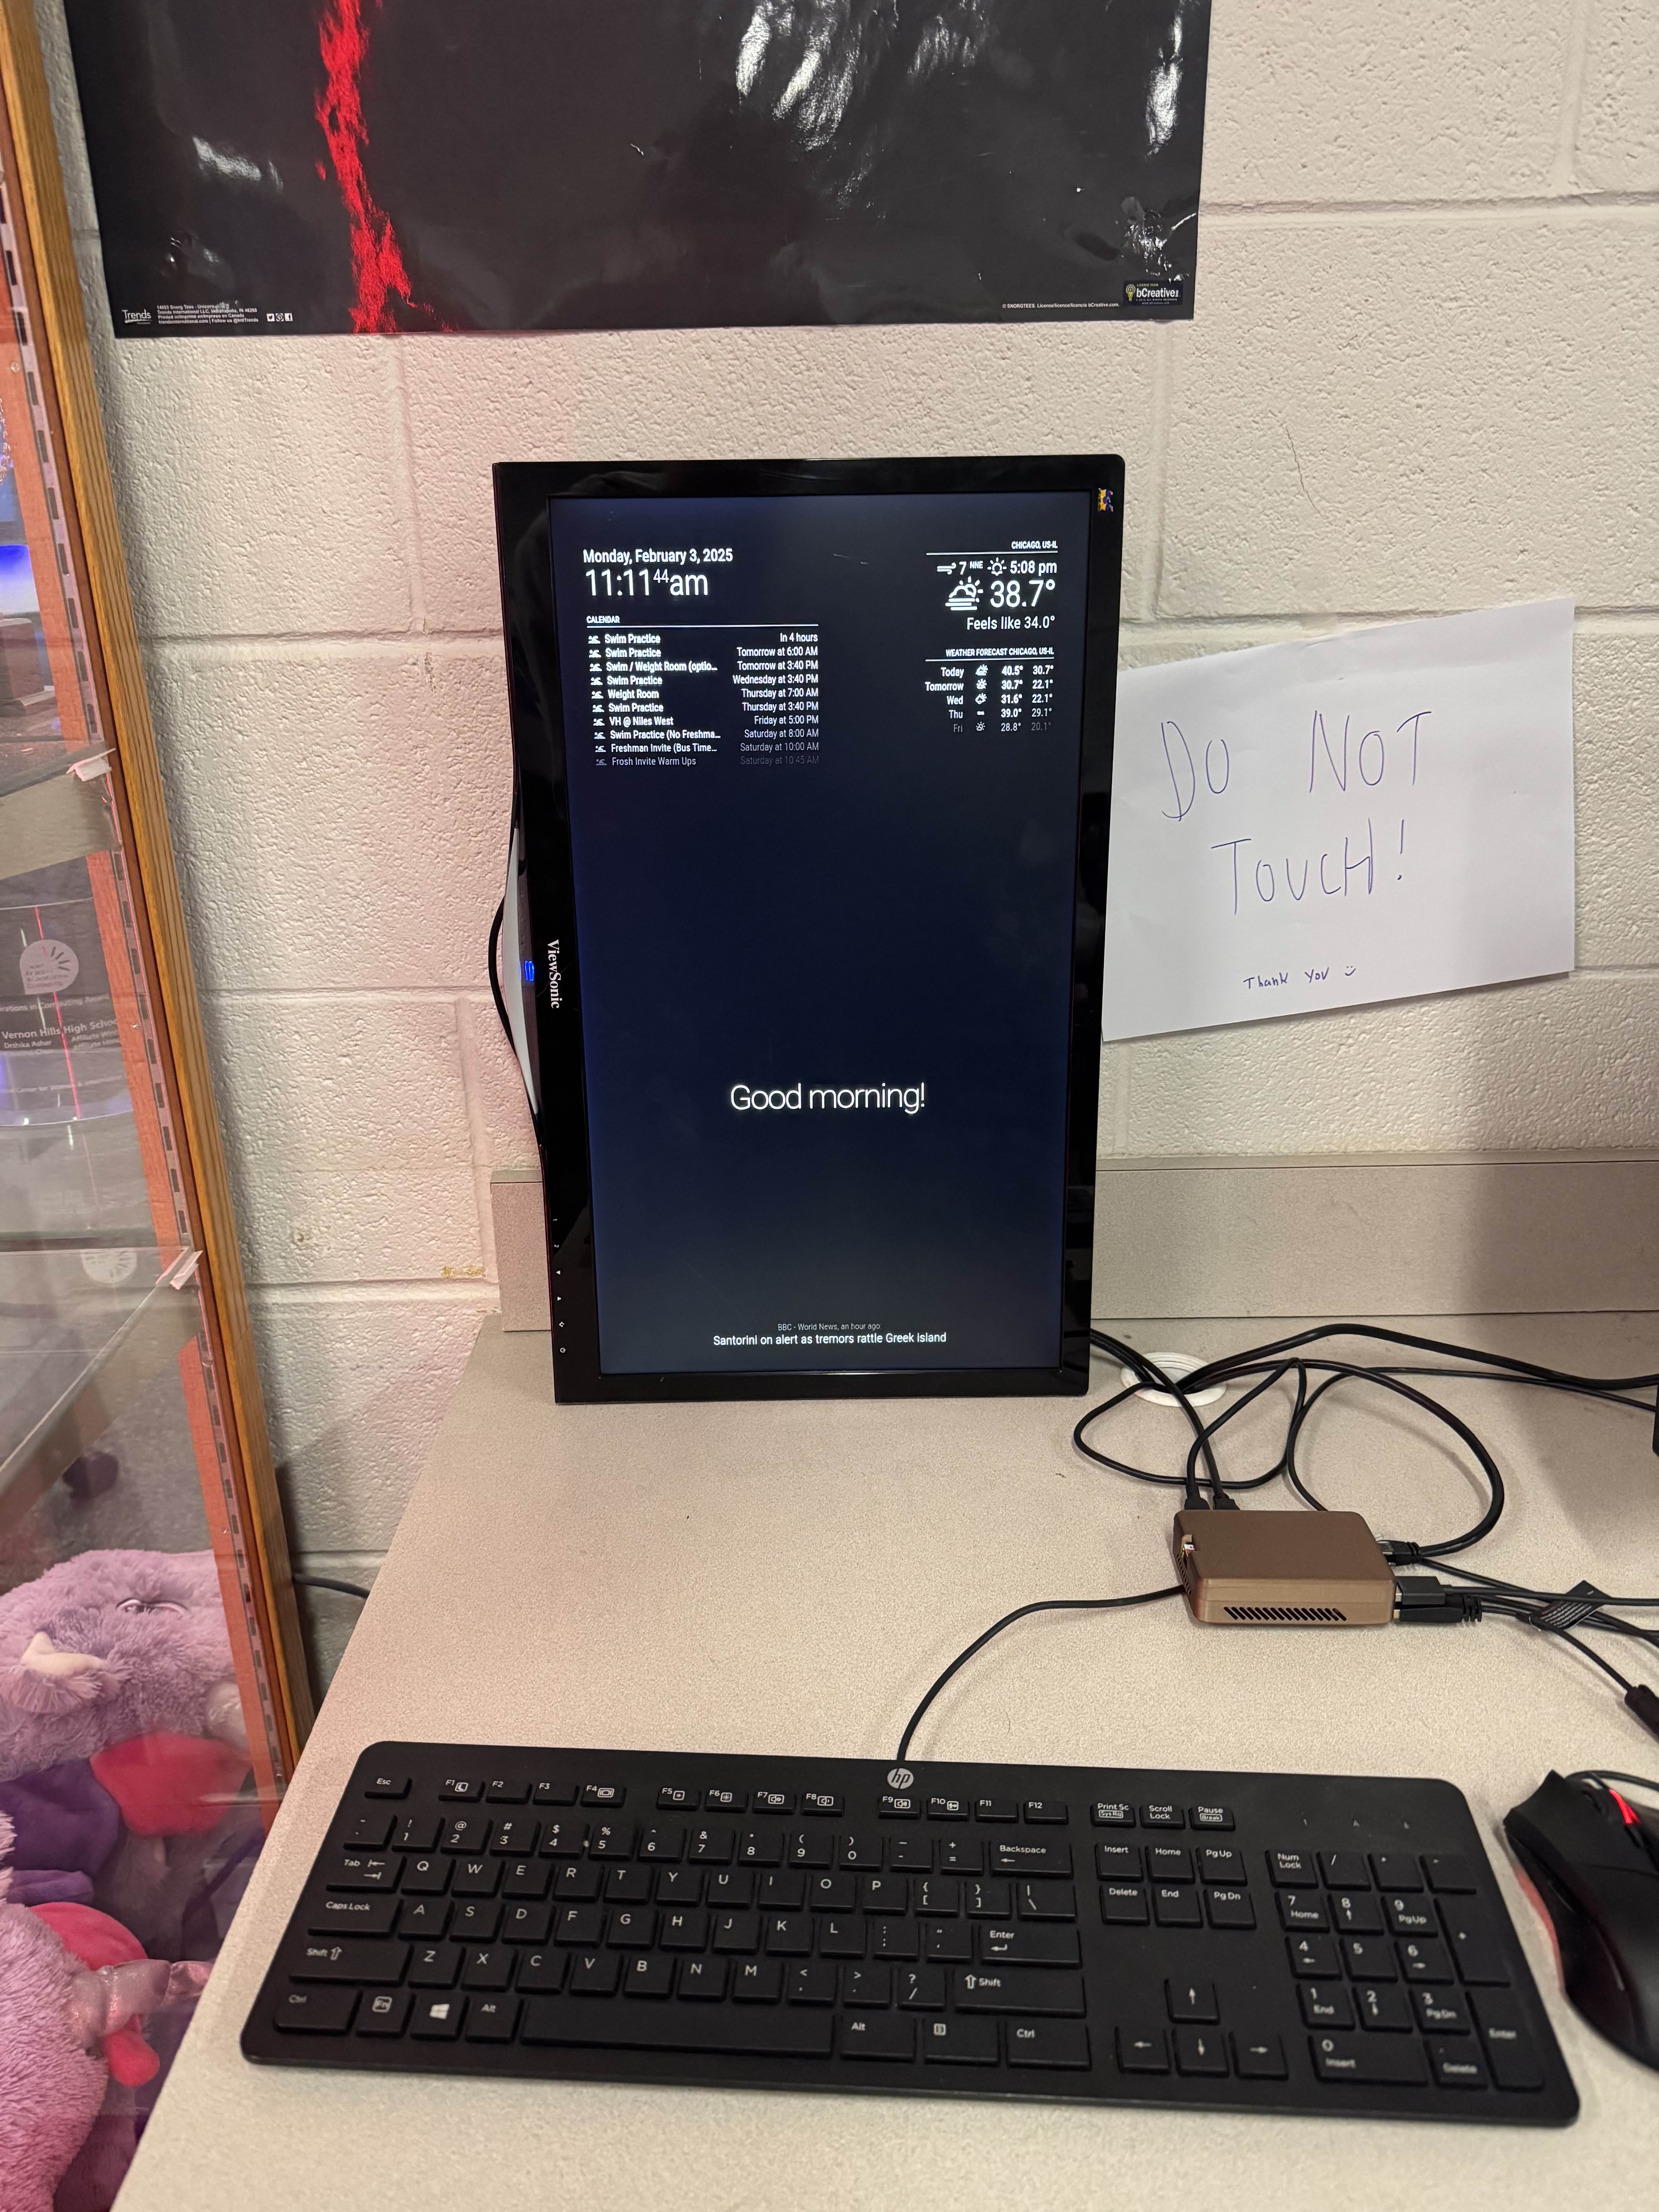
The mirror shows time, a bell countdown, calendar, weather, Spotify, a YouTube playlist, quotes, and news. It still runs today.


Technical Implementation
Technical Implementation
- MagicMirror² in kiosk mode; display rotated via config.txt
- Modules: clock, weather, calendar, quotes, news
- Spotify: MMM-Spotify with OAuth; I redesigned the UI for readability
- YouTube: playlist loop for water polo games and a favorite SNL sketch
- Custom: MMM-SchoolBellCountdown reads a static JSON bell schedule and shows live remaining time
- Auto-start on boot; simple recovery by power cycle
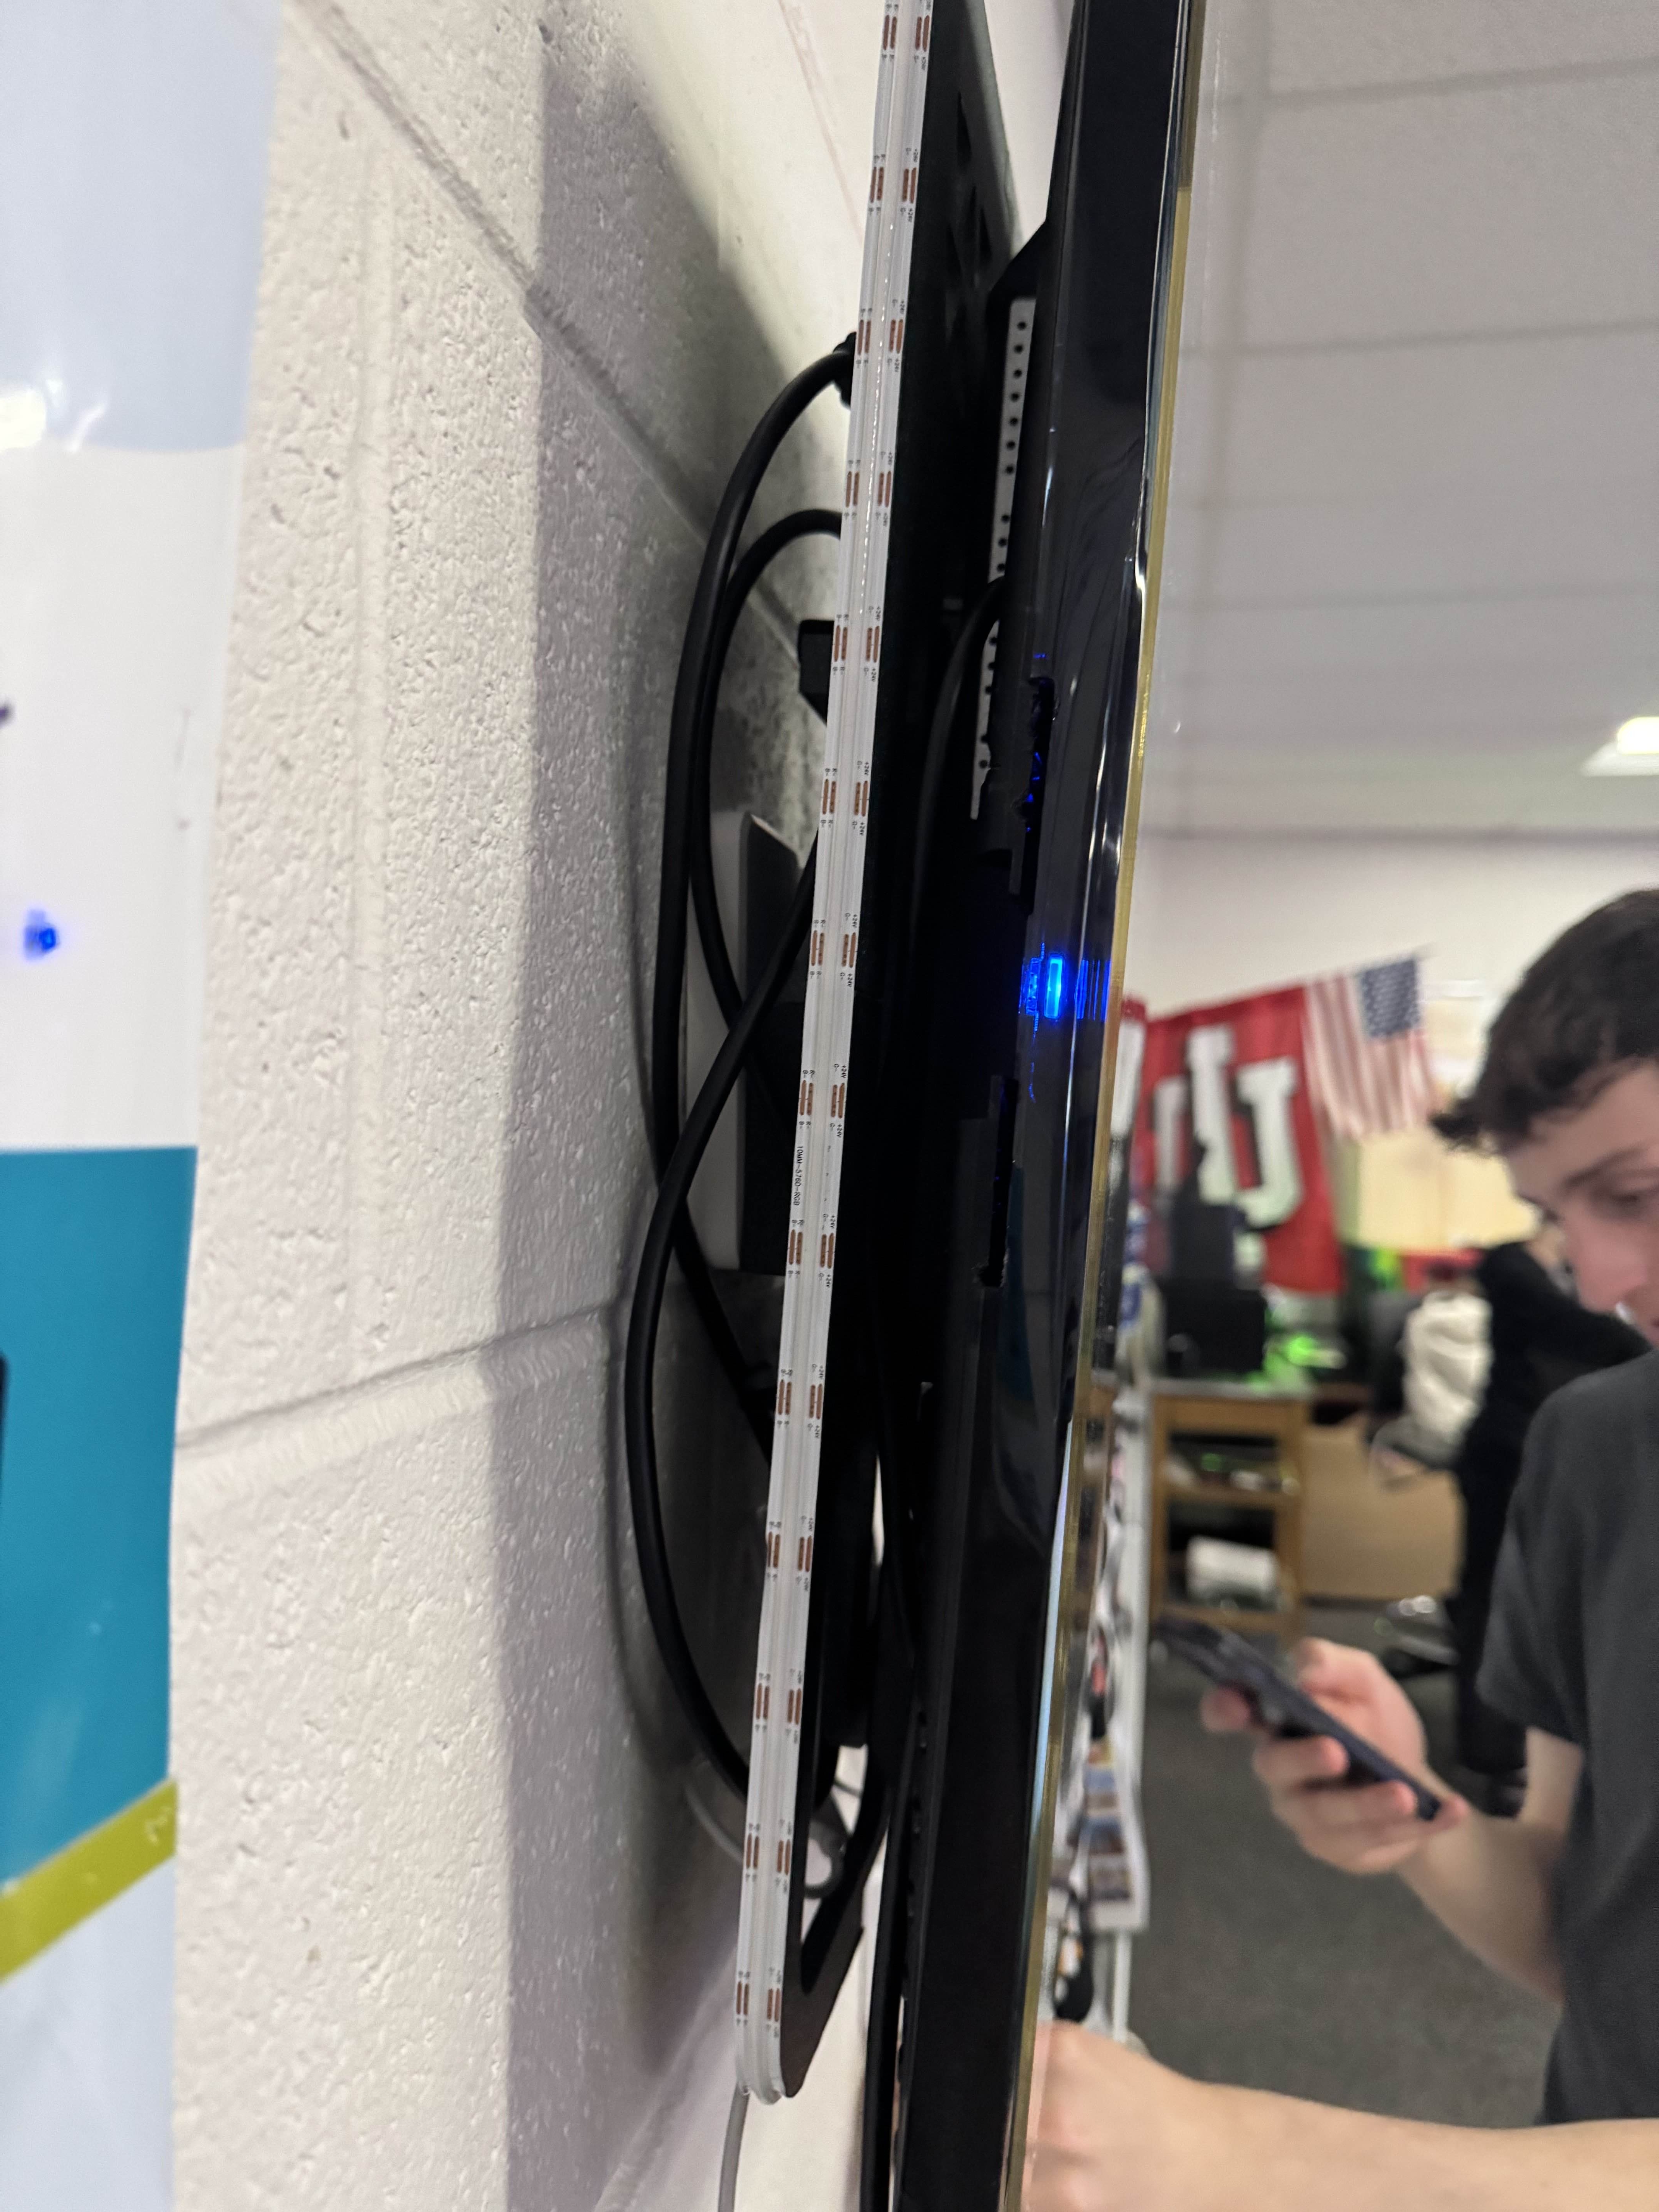
Hardware & Mounting
Results & What I Learned
Results and What I Learned
- Distance and glare change UI decisions, a dark theme with white type was required for across-the-room readability
- Adhesive-only mounting needs real prep and redundancy, first install fell overnight, so deep cleaning and multiple strips per hook became standard
- Kiosk devices work best with simple startup and recovery, power cycling as the only fix kept maintenance teacher friendly
- Static schedules beat flaky APIs, a JSON bell table never failed while live endpoints could
- Public display UX is its own thing, large fonts, high contrast, and short text outperform dense interfaces
- Modular architecture paid off, MagicMirror² plugins let us add features incrementally without regressions
- Hardware limits shaped the UI, a portrait screen forced a new hierarchy and scannable columns
- Production exposes weak points, what passes in dev can fail on a wall, so we added fallbacks and timeouts
- Tight budget encouraged scrappy builds, a salvaged monitor plus custom parts stretched every dollar
- Real usage guided tweaks, watching teachers use it surfaced small UX fixes we had missed
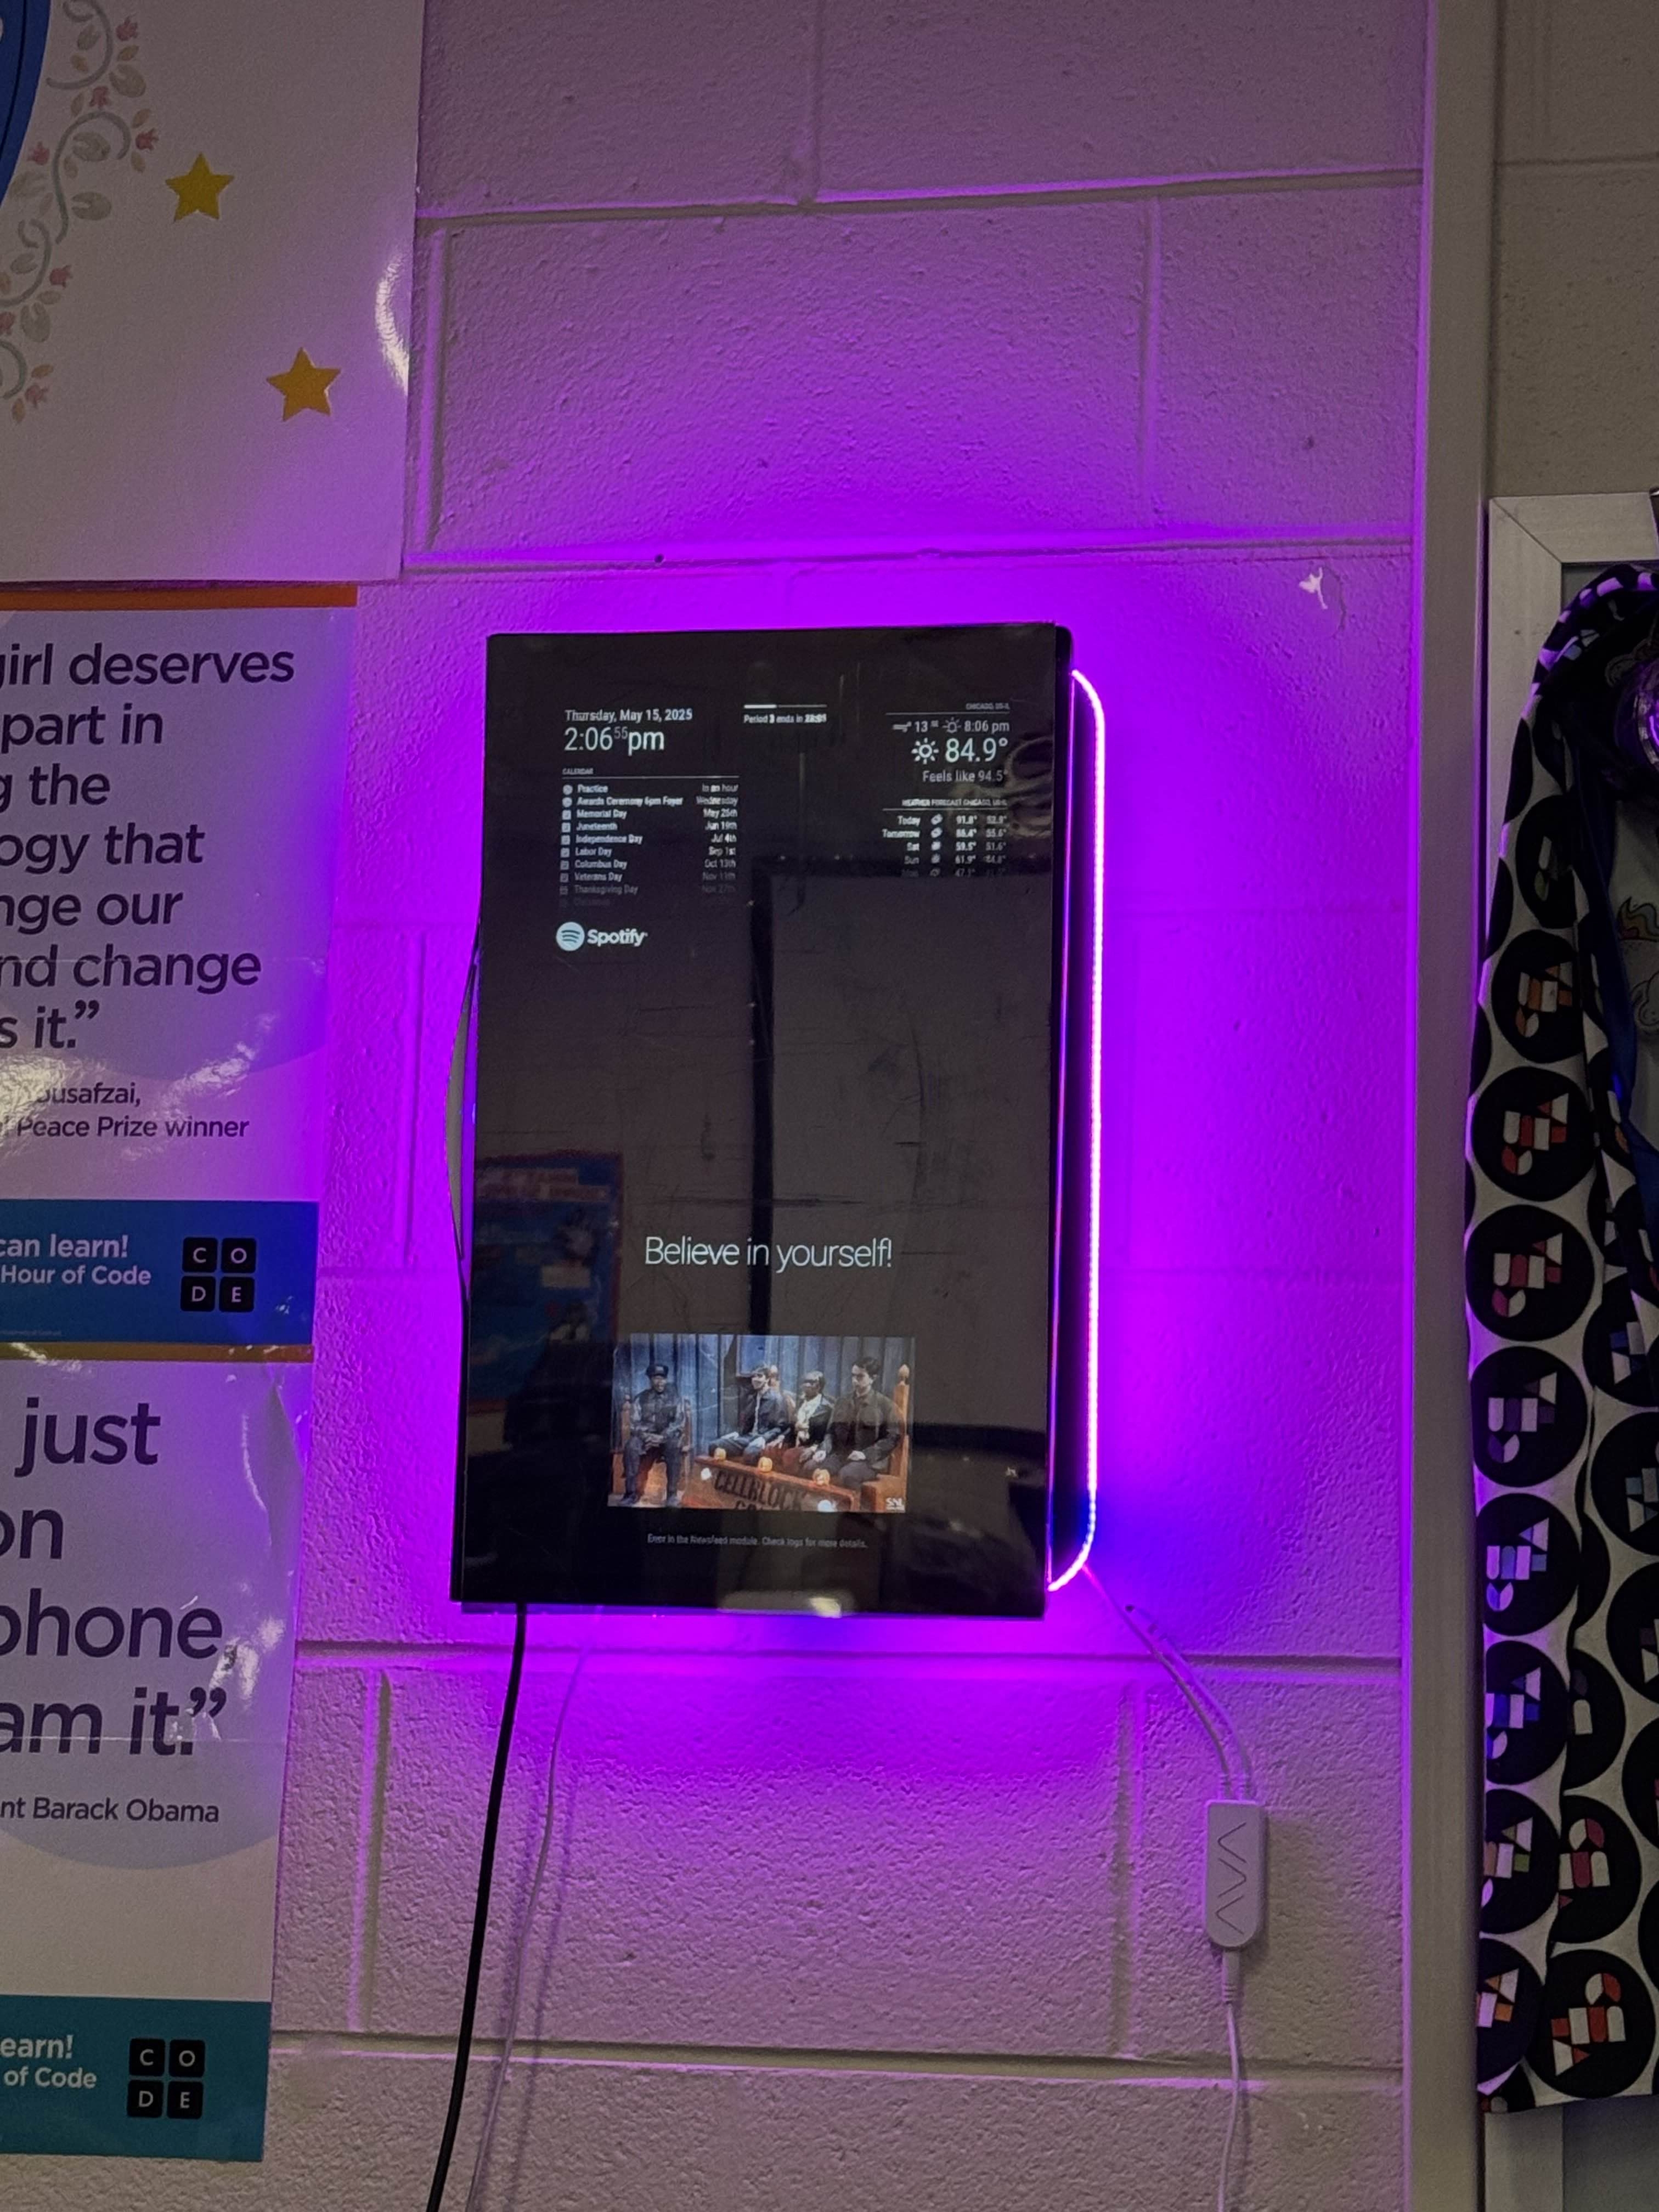
Final Install
Final mirror in room 0200 with ambient LEDs. Runs continuously and updates at boot.
Project Highlights
- Built for a real classroom with almost no budget
- Custom bell countdown module with JSON schedule
- Adhesive-only mounting with recovery after first failure
- Still running 24/7 with a simple maintenance model
What I would do next
- Lightweight CMS so teachers can update schedules, playlists, and power state remotely
- Smarter idle and energy savings
- Thinner glass and a VESA frame to reduce weight